Download Prusa Slicer & Unlock the Power of 3D Printing
The best free open-source 3D printing software for precision, speed, and ease. Download now and start printing today!
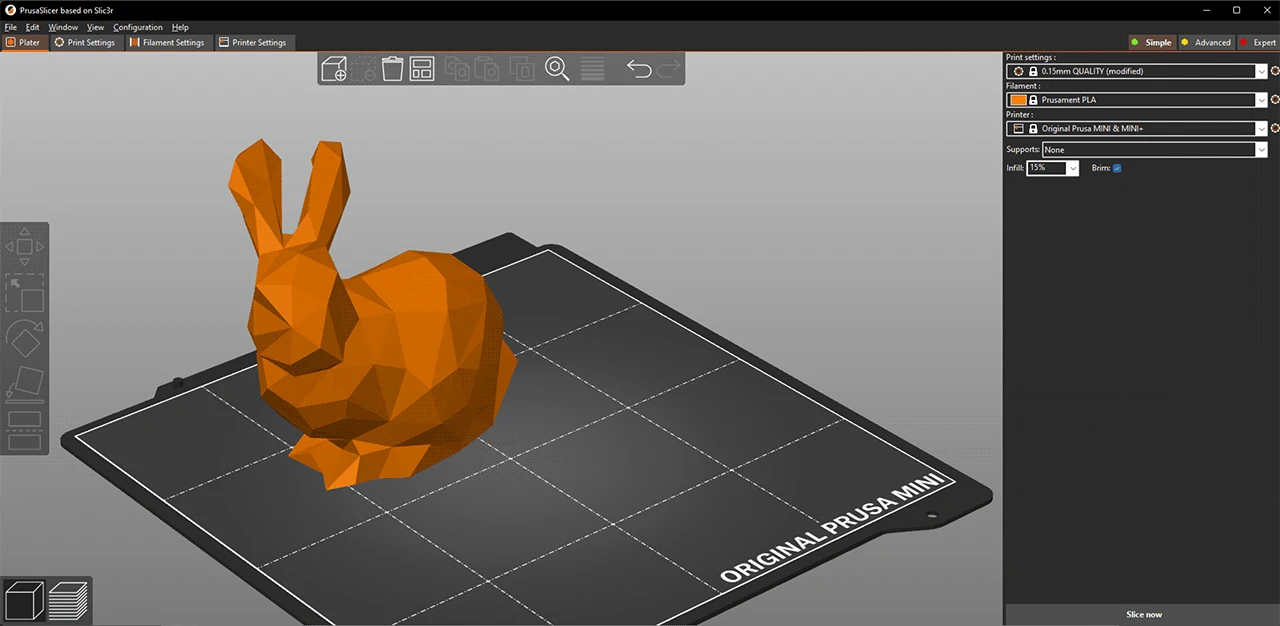
Explore Prusa Slicer
What is Prusa Slicer?
Prusa Slicer is the leading free open-source 3D printing slicer software, designed for beginners and experts alike. It converts your 3D models (STL, OBJ, AMF) into precise G-code instructions for FFF printers or PNG layers for mSLA printers. Compatible with modern printers based on RepRap, Marlin, Prusa, Sprinter, and Repetier firmware, it also supports Mach3, LinuxCNC, and Machinekit controllers.
With deep integration for Prusa printers and support for third-party printers, Prusa Slicer offers an intuitive interface with three user modes—Simple, Advanced, and Expert. Its open-source nature allows for customization, ensuring it meets your specific printing needs. Frequent updates keep it at the forefront of 3D printing technology, backed by a thriving global community of users and developers.
Key Features of Prusa Slicer 3D Software
Explore 20 powerful features that make Prusa Slicer 3D the best choice for 3D printing enthusiasts.
- Multi-Platform Compatibility: Works with Prusa and third-party printers on Windows, macOS, and Linux.
- User-Friendly Modes: Simple, Advanced, and Expert modes for all skill levels.
- Wide File Format Support: Supports STL, OBJ, 3MF, and AMF formats.
- Comprehensive Print Settings: Adjust layers, perimeters, print speed, and infill.
- Organic Support Structures: Automatically generated supports for complex prints.
- Advanced Cooling Control: Fine-tune nozzle and bed temperatures.
- Input Shaping: Reduces vibrations for smoother, faster prints.
- Custom Filament Profiles: Define filament settings like color and density.
- Text Embossing & Cutting: Add custom text and split models easily.
- SLA & FDM Support: Optimized for both FDM and SLA printers.
- Community Contributions: Open-source with active community support.
- Multi-Material Printing: Print with multiple colors or materials.
- G-Code Previews: Preview your print layer by layer.
- Prusa Printer Integration: Seamless setup with PrusaConnect.
- Regular Updates: Stay updated with the latest features.
- Variable Layer Height: Adjust layer height for detailed areas.
- Print Time Estimation: Accurate estimates for better planning.
- Seamless Updates: Automatically checks for software updates.
- Custom G-Code Scripts: Add custom start/end G-code.
- Error Detection: Identifies model issues before slicing.
Download Prusa Slicer
Select your operating system to download the latest version of Prusa Slicer.
Prusa Slicer for Windows
Version: 2.9.0 | File Size: 81.3 MB | Requirements: Windows 10 – x64 | Last Update: Dec 10, 2024
Download NowCheck the changelog for the latest updates.
Installation Guide
Let’s get Prusa Slicer on your computer! Follow these easy steps—it’s like following a treasure map! Pick your computer type below to start.
Windows Installation (For Computers with Windows)
-
Find the Download Button: Look at the "Download" section above. Click the button that says "Download for Windows." It’s like pressing a magic button to get a special file!
-
Wait for the File: A file named "PrusaSlicer-2.9.0+win64.zip" will go to your Downloads folder. This folder is usually in a place like "C:\Users\YourName\Downloads." It’s like getting a present in a box!
-
Open the Box (Unzip the File): Find the file in your Downloads folder. Right-click it and choose "Extract All." Pick a spot to put the files, like "C:\Program Files\PrusaSlicer," then click "Extract." It’s like opening a toy box to see what’s inside!
-
Find the Program: After the box is open, go inside the new folder. Look for a file called "PrusaSlicer.exe." It’s like finding the toy you wanted!
-
Start the Program: Double-click "PrusaSlicer.exe" to open it. Your computer might ask if it’s okay to run it—it’s like asking for permission. Click "More Info," then "Run Anyway" to say yes.
-
Set It Up: When Prusa Slicer opens, a helper (called the Configuration Wizard) will pop up. It’s like a guide! Pick your 3D printer (like Prusa i3 MK3S+), the material you’ll use (like PLA), and other options. Click "Finish" when you’re done.
-
Make It Easy to Find (Optional): Right-click "PrusaSlicer.exe," choose "Create Shortcut," and drag the shortcut to your desktop. Now you can open it anytime with one click, like a magic door!
macOS Installation (For Apple Computers)
-
Find the Download Button: Look at the "Download" section above. Click the button that says "Download for macOS." It’s like picking a shiny apple to start your adventure!
-
Wait for the File: A file named "PrusaSlicer-2.9.0+macOS-universal.dmg" will go to your Downloads folder. This folder is usually at "/Users/YourName/Downloads." It’s like getting a special package!
-
Open the Package: Find the file in your Downloads folder and double-click it. This opens a little window with the Prusa Slicer app inside, like opening a gift box.
-
Move It to a Safe Place: Drag the Prusa Slicer icon to the Applications folder in the window. It’s like putting your toy in a special toy box so you can find it later!
-
Close the Package: When it’s done copying, click the eject button next to the disk image in Finder, or drag the disk to the Trash. This is like closing the box after taking out your toy.
-
Start the Program: Go to your Applications folder, find Prusa Slicer, and double-click it to open. Your Mac might ask if it’s okay to open it—it’s like asking for permission. Go to System Preferences > Security & Privacy, and click "Open Anyway."
-
Set It Up: When Prusa Slicer opens, a helper (called the Configuration Wizard) will pop up. Pick your 3D printer, the material you’ll use (like PLA), and your favorite mode (Simple, Advanced, or Expert). Click "Finish" when you’re done.
-
Make It Easy to Find (Optional): Drag the Prusa Slicer icon from Applications to your Dock (the bar at the bottom of your screen). Now you can open it with one click, like a magic button!
Linux Installation (For Computers with Linux)
-
Choose Your Linux Type: Look at the "Download" section above. Pick the right button for your Linux: "Linux (Older Distros)" or "Linux (Newer Distros)." It’s like picking the right key for a door!
-
Wait for the File: A file like "PrusaSlicer-2.8.1+linux-x64-older-distros-GTK3-202409181354.AppImage" will go to your Downloads folder. This folder is usually at "/home/yourname/Downloads." It’s like getting a special package!
-
Open a Magic Window (Terminal): Press the keys Ctrl+Alt+T together. A black window called a "terminal" will pop up. It’s like a magic window where you can talk to your computer!
-
Go to Your Downloads: In the terminal, type
cd ~/Downloadsand press Enter. This tells your computer to look in your Downloads folder, like telling it where to find your toy box! -
Make the File Ready: Type
chmod +x PrusaSlicer-2.8.1+linux-x64-*.AppImageand press Enter. This is like telling the file, "You’re ready to work now!" -
Start the Program: Type
./PrusaSlicer-2.8.1+linux-x64-*.AppImageand press Enter. This opens Prusa Slicer, like turning on a fun game! -
Set It Up: When Prusa Slicer opens, a helper (called the Configuration Wizard) will pop up. Pick your 3D printer, the material you’ll use, and your favorite mode. Click "Finish" when you’re done.
-
Make It Easy to Find (Optional): Right-click the AppImage file and choose "Create Desktop Entry," or make a .desktop file in ~/.local/share/applications. This is like putting a shortcut on your desk so you can find it fast!
-
If Something Goes Wrong: If the program doesn’t start, you might need a helper called GTK3. In the terminal, type
sudo apt install libgtk-3-0and press Enter (on Ubuntu). It’s like giving your computer a little extra magic to make it work!
Getting Started with Prusa Slicer
You’ve got Prusa Slicer on your computer—yay! Now let’s start making awesome 3D prints. Watch this video, follow these easy steps, and check out our tips and FAQs to become a 3D printing pro in no time!
Step 1: Initial Setup
Open Prusa Slicer on your computer—it’s like opening a toy box full of fun! A helper called the Configuration Wizard will pop up. Pick your 3D printer from the list (like Prusa i3 MK3S+), choose the material you’ll use (like PLA, which is a type of plastic), and select a mode that fits you: Simple (easy), Advanced (a bit harder), or Expert (for pros). Click "Finish" when you’re done!
Step 2: Import and Manipulate Models
Now let’s add something to print! Click the "Add" button or drag a 3D model file (like STL, OBJ, or 3MF) into Prusa Slicer. It’s like bringing a toy into your play area. Use the Move, Scale, and Rotate tools to put your model exactly where you want it on the print bed—just like arranging toys on a table!
Step 3: Configure Print Settings
Let’s make your print perfect! Adjust settings like layer height (how thin each layer is), infill (how solid the inside is), and supports (little helpers for tricky parts). It’s like choosing how to build a sandcastle—strong and sturdy or light and quick. When you’re ready, click "Slice Now" to turn your model into instructions for your 3D printer!
Step 4: Send to Your Printer
After slicing, you’ll see a preview of your print—cool, right? Now, save the instructions (called G-code) to a file or send them directly to your printer if it’s connected. It’s like giving your printer a recipe to make your 3D model come to life!
Step 5: Start Printing and Watch the Magic
Load your printer with the right material (like PLA), make sure it’s ready, and press the start button on your printer. Watch as your model comes to life layer by layer—it’s like magic! If something doesn’t look right, check the FAQ below for tips.
Pro Tips for Beginners
- Start Simple: Begin with small, easy models to learn how your printer works. Think of it like building a tiny LEGO set before making a big castle!
- Check Your Printer: Make sure your printer bed is level (like making sure a table is flat) so your print sticks properly.
- Use Supports for Tricky Shapes: If your model has parts that stick out, turn on supports in Prusa Slicer to help hold them up while printing.
- Save Your Settings: Once you find settings that work well, save them as a profile in Prusa Slicer. It’s like saving your favorite recipe!
- Join the Community: Visit our forums or social media to share your prints and get ideas from other 3D printing fans—it’s like joining a club of creators!
Frequently Asked Questions
What file formats does Prusa Slicer support?
Prusa Slicer can use files like STL, OBJ, 3MF, and AMF. These are special files that have 3D models inside, like blueprints for your toys!
How do I troubleshoot print issues?
If your 3D print doesn’t look right, check if your printer bed is flat (like making sure your table is even). You can also adjust settings in Prusa Slicer, like making layers thicker. If you need more help, click the "Contact Support" link below—it’s like asking a friend for help!
Is the Prusa Slicer free?
Yes, Prusa Slicer is completely free to download and use! It’s a gift from us to help you create amazing 3D prints without spending any money. Learn more about why it’s free on our dedicated page!
What is Prusa Slicer used for?
Prusa Slicer is a tool that helps you turn 3D models into instructions for your 3D printer. It’s like a magic chef that takes your idea (a 3D model) and makes a recipe (called G-code) so your printer can create it in real life—whether it’s a toy, a tool, or a decoration!
Does Prusa Slicer work with Creality?
Yes, Prusa Slicer works great with Creality printers, like the Ender 3 or CR-10! You can pick your Creality printer in the Configuration Wizard when you set up the software. It’s like making sure your favorite game works on your console—everything fits perfectly!
How much is a Prusa Slicer?
Prusa Slicer doesn’t cost anything—it’s free for everyone! You can download it right now without paying a penny. It’s our way of helping you start your 3D printing journey with no worries!
Does Prusa use G-code?
Yes, Prusa Slicer creates G-code, which is like a secret language that tells your 3D printer exactly how to make your model. After you slice your model, Prusa Slicer turns it into G-code instructions that your printer understands, so it can build your creation layer by layer!
Is Prusa Slicer open-source?
Yes, PrusaSlicer is open-source! That means its recipe (the code) is shared with everyone, and people all over the world can help make it better. It’s like a big group project where everyone adds their ideas to make the best 3D printing tool ever!
What is the difference between OrcaSlicer and Prusa Slicer?
OrcaSlicer and Prusa Slicer are both tools for 3D printing, but they’re a bit different. Prusa Slicer is made by the Prusa team and works super well with Prusa printers, plus it’s been around longer with lots of updates. OrcaSlicer is a newer tool that started as a copy of Prusa Slicer but added some extra features like better support for multi-color printing. Prusa Slicer is easier to use for beginners, while OrcaSlicer might be better if you love trying new things!
Is Prusa Slicer better than Cura?
Prusa Slicer and Cura are both awesome, but they’re great for different reasons! Prusa Slicer has special features like organic supports and works perfectly with Prusa printers, plus it’s super easy to use. Cura is also great, especially for beginners with other printers. Want to know more? Check out our full comparison on our Prusa Slicer vs. Cura page!